

In this post, I am going to show you , How to configure the Azure SQL Service in Azure Cloud platform. For this I have used Azure free subscription.

Step 1:- You have to access https://portal.azure.com?#home to access the Azure portal. Search the SQL Service in the search bar.

Step 2:- Once load the SQL Database click on the Add button.

Step 3:- Give the Subscription details.

Step 4:- Assign the Resource group.

Step 5:- Give the Database name as below.

Step 6:- Create the New server name.

Step 7:- To configure the SQL Database , click on the configure the database.

Step 8:- For this I have selected Basic Pricing plan with 5DTU and 100MB storage.

for the above configuration , cost will be $4.99 per month.

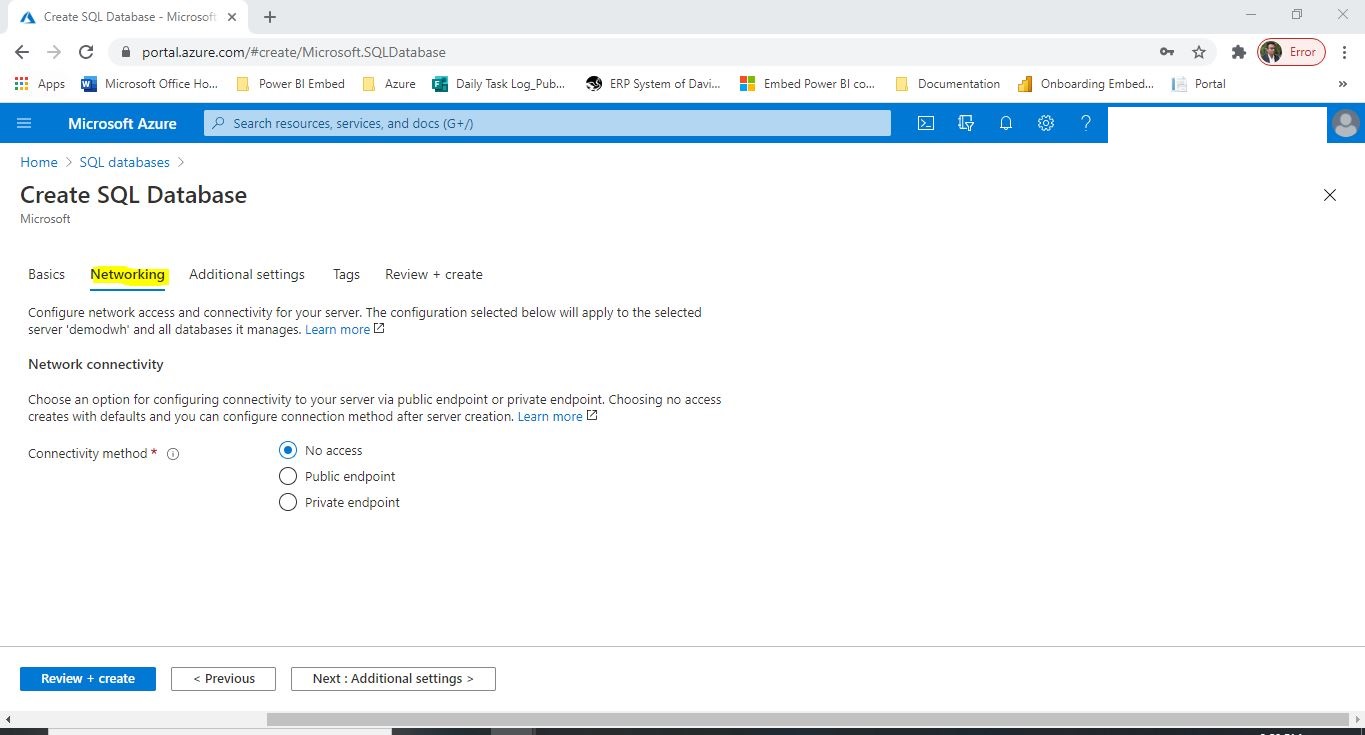
Step 9:- In the networking section, selected the connectivity access method as 'No Access'
Step 10:-Keep default for the additional setting tab.

Step 11:-Keep default for the additional Tags tab.

Step 12:-In the review tab you can review the all configuration which we provided in the earlier steps.


Step 13:-Then click on the create button and it will deploying

Successfully, It will create the Resources for the SQL Service.

Step 14:- Then click on the Go to resources and it will open the home window for the Azure SQL server

Step 15:-Click on the Query editor to connect to the database.

Step 16:- Give the Username and password and it will give an error to reset the firewall rule.

Step 17:- Get the Client IP from the error message and go to the Set Server Firewall menu.

Step 18:-Assign the Client IP.


Step 19:- Again give the User name and password, you can successfully connect to the AZURE SQL Service

Thank you !!!!!!!!!
 Reviewed by Pubudu Dewagama
on
5:33:00 AM
Rating:
Reviewed by Pubudu Dewagama
on
5:33:00 AM
Rating:


No comments: